upSync connects to Autotask using an API user account. You will need to create a dedicated API user in Autotask and then enter those credentials in upSync.
Step 1 — Create an Autotask API User
Before connecting upSync, you need an API user set up in Autotask. API users are separate from regular user accounts and are designed specifically for integrations.
- Log in to Autotask as an administrator.
- Go to Admin > Resources / Users (HR).
- Click New > New API User.
- Enter a username (for example, upsync-api@yourcompany.com) and a descriptive name.
- Under Security Level, assign a security level that allows read access to invoices, contracts, billing codes, and customers. A read-only integration security level is sufficient for downloads; you will also need write access if you want upSync to write the Xero invoice number back to Autotask.
- Generate the API Tracking Identifier (Secret) and make a note of it — it is only shown once.
- Save the new API user.
Note: The API username is typically the email address you assigned to the API user account. The API key/secret is the tracking identifier generated in the final step above.
Step 2 — Connect Autotask in upSync
- In upSync, go to Connections > Autotask.
- Enter your API Username (the email address of the API user).
- Enter your API Key / Secret.
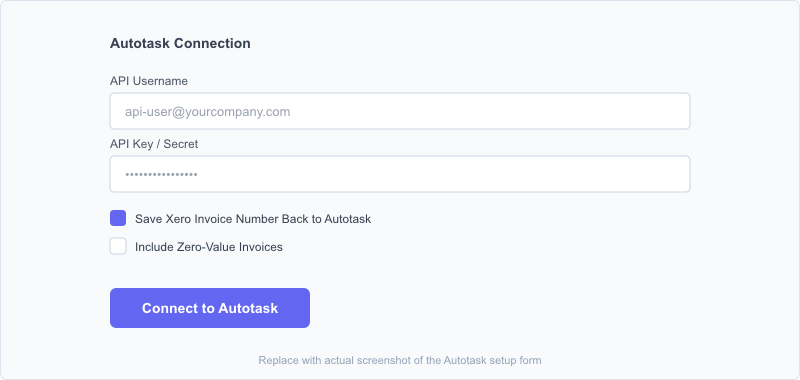
- Click Connect to Autotask. upSync will automatically detect the correct Autotask zone (data centre region) and test the connection.
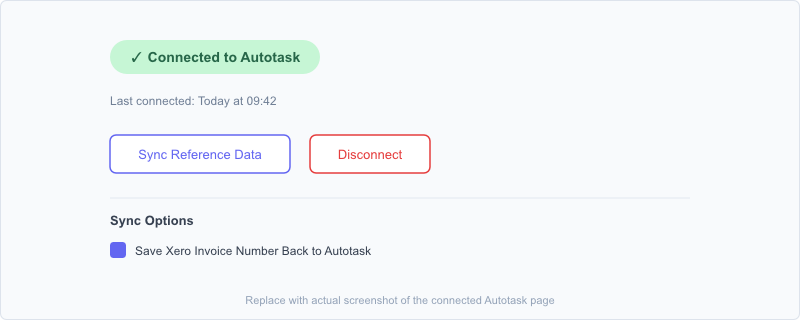
- If the connection is successful, you will see a green Connected to Autotask badge and the last connected timestamp.
Note: If the connection fails, check that the API username and key are correct and that the API user has not been disabled in Autotask. The error message shown in upSync will indicate whether the credentials were rejected or whether there was a network problem.
Step 3 — Sync Reference Data
After connecting, click Sync Reference Data. This downloads your Autotask billing codes and tax categories into upSync so you can set up code mappings. This step must be completed before you can configure billing code mappings or tax code mappings.
You should re-run Sync Reference Data whenever you add new billing codes or tax categories in Autotask.
Sync Options
After connecting, the following sync options are available on the Autotask settings page:
Save Xero Invoice Number Back to Autotask
When enabled, upSync writes the Xero invoice number back to the corresponding Autotask invoice after a successful sync. This allows you to cross-reference invoices between the two systems. This option requires the Autotask API user to have write access to invoices.
Include Zero-Value Invoices
When enabled, invoices with a total value of £0.00 are included when downloading from Autotask. By default, zero-value invoices are skipped.
Scheduled Sync
upSync can automatically download invoices from Autotask on a regular schedule without you needing to trigger a download manually.
- Tick Enable Scheduled Sync to turn this on.
- Set the Lookback Period — the number of days back upSync will search for new invoices on each scheduled run. Options are 7, 14, 30, 60, or 90 days.
Note: The scheduled sync downloads invoices to the staging area but does not automatically sync them to Xero. You still need to review and sync them from the Sync Invoices page.
Disconnecting Autotask
To disconnect Autotask, click the Disconnect button at the top of the Autotask settings page. You will be asked to confirm. Disconnecting does not delete your existing downloaded invoices or sync history — it only removes the stored credentials. You can reconnect at any time.